Title: Your Ultimate Guide to Finding the Perfect Replacement Grill Burner for Your Jackson Gas Grill in Canada.
Introduction:
Are you in Canada and in need of a replacement grill burner for your Jackson JSS550 or JSS700 gas grill? Whether you’re an avid griller or simply enjoy occasional cookouts, having a functioning grill burner is essential for achieving delicious and perfectly cooked meals. In this guide, we’ll walk you through the process of finding the right replacement grill burner for your Jackson gas grill in the Canadian market, ensuring that you can get back to grilling your favorite dishes in no time.
Step 1: Identify Your Grill Model and Burner Specifications
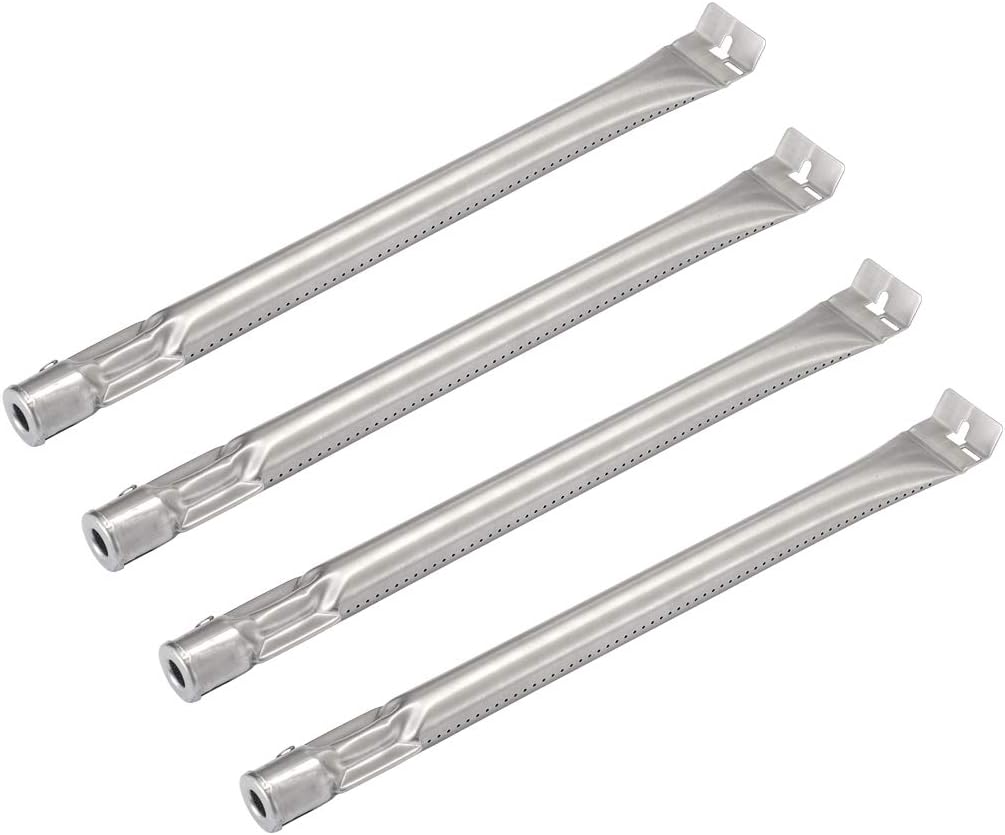
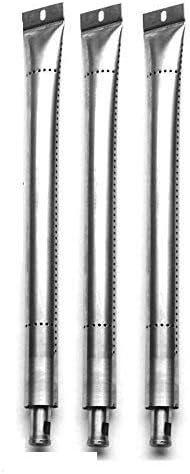
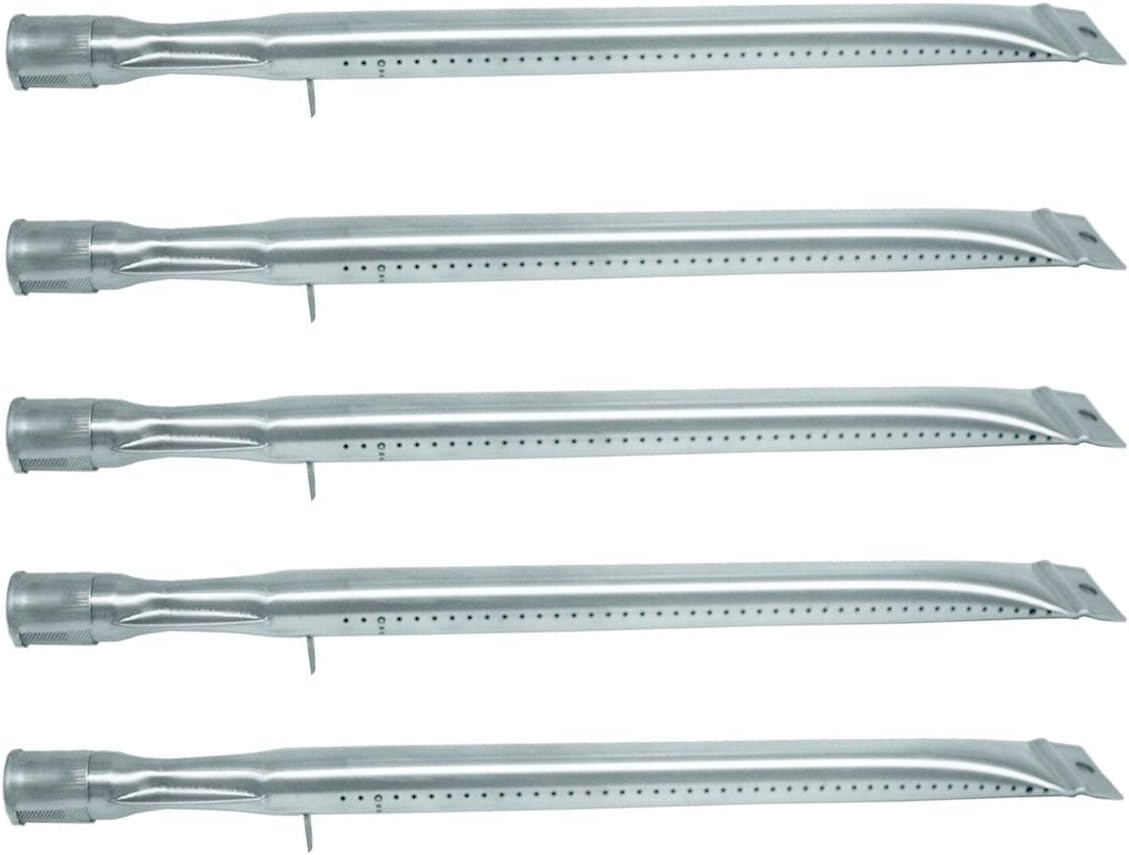
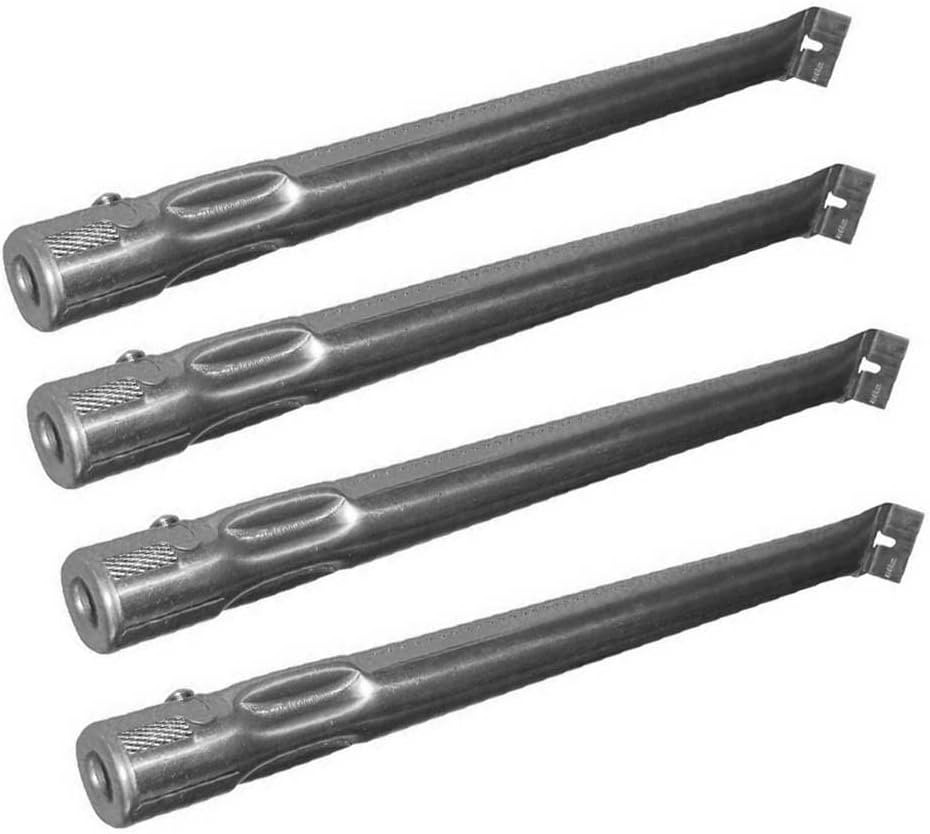
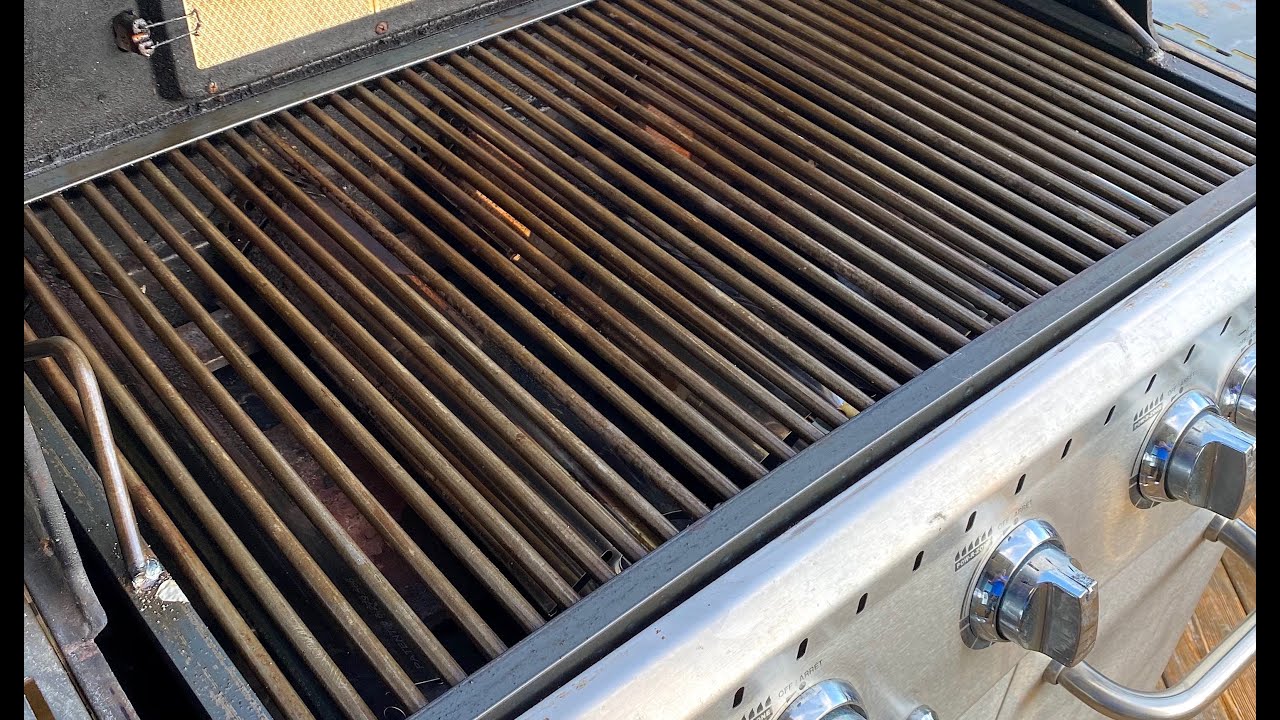
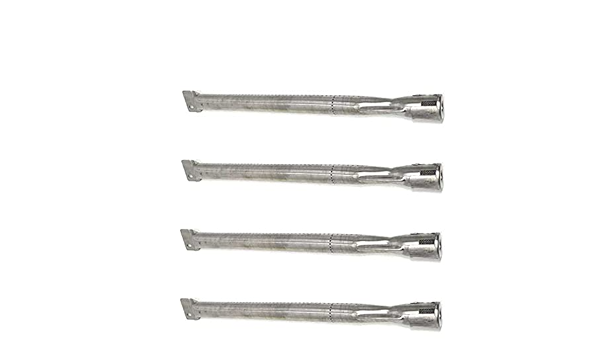
The first step in finding the right replacement grill burner is to identify your grill model and the specific burner dimensions. For Jackson gas grills, such as the JSS550 and JSS700, you’ll need a burner that measures 15-13/16 inches in length and 1 inch in width. Take accurate measurements of your existing burner to ensure compatibility with the replacement.
Step 2: Explore Online Retailers and Specialty Stores
In Canada, there are numerous online retailers and specialty stores that offer a wide selection of grill replacement parts, including burners. Start your search by exploring reputable online platforms and specialty stores that specialize in BBQ and grill accessories. Look for retailers with positive reviews and a track record of providing quality products and excellent customer service.
Step 3: Check Manufacturer’s Website and Authorized Dealers
Another option for finding a replacement grill burner for your Jackson gas grill is to check the manufacturer’s website and authorized dealers in Canada. Manufacturers often have official websites where you can purchase genuine replacement parts directly. Additionally, authorized dealers may carry a variety of replacement parts for Jackson grills, including burners.
Step 4: Read Reviews and Compare Options
Once you’ve found potential replacement grill burners that meet your specifications, take the time to read product reviews and compare your options. Look for feedback from other customers regarding the quality, durability, and performance of the burners. Pay attention to any warranty information provided by the manufacturer or retailer, as this can offer added peace of mind.
Step 5: Consider Budget and Shipping Options
When selecting a replacement grill burner, consider your budget and shipping preferences. Compare prices across different retailers to ensure that you’re getting the best value for your money. Additionally, check shipping options and delivery times to determine the most convenient and cost-effective method for receiving your replacement burner in Canada.
Step 6: Place Your Order and Install the Replacement Burner
Once you’ve chosen the perfect replacement grill burner for your Jackson gas grill, proceed to place your order through the retailer’s website or contact an authorized dealer directly. Upon receiving your replacement burner, carefully follow the manufacturer’s instructions for installation to ensure proper fit and functionality. With your new grill burner installed, you’ll be ready to fire up the grill and enjoy delicious BBQ creations once again!
Conclusion:
Finding the right replacement grill burner for your Jackson JSS550 or JSS700 gas grill in Canada doesn’t have to be a daunting task. By following the steps outlined in this guide and leveraging the resources available to you, you can quickly and easily locate the perfect replacement burner to keep your grill in top condition. Enjoy hassle-free grilling and flavorful meals with your newly replaced grill burner!